
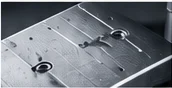
A code must stand out clearly from its background for the camera. Interfering reflections, uneven illumination, or a light color that is unfavorable to the printing ink can reduce this contrast. Therefore, the lighting principle, light color, and imaging geometry are coordinated with the code, carrier material, and movement.
Typical Inspection Tasks
- Reading barcodes and DataMatrix codes on labels and packaging.
- Capturing printed characters, batch identifications, and markings for OCR.
- Making laser markings and directly marked codes visible on metal or plastic.
- Checking the presence, position, and distinctness of product features.
Which Light Suits the Task?
Uniform Incident Light for Matte Labels
For matte, flat surfaces, ring or area lighting can provide a highly usable initial contrast. The entire relevant field of view should be illuminated without disruptive changes in brightness.
Coaxial or Diffuse Light Against Interfering Reflections
Coaxial light can be suitable for flat reflective surfaces. For curved or uneven glossy surfaces, it is worth comparing with diffuse lighting. Which arrangement emphasizes a marking also depends on its manufacturing process.
Dark Field for Embossed or Recessed Markings
Direct markings may be recognizable by their surface structure rather than by a printing ink. A low angle of incidence can emphasize this structure. The lighting direction and angle are compared using the actual components used.
Selecting Light Color Based on Camera Contrast
Colored lighting can separate print and background more strongly or even reduce the difference. The decisive factor is the resulting camera image, including the spectral sensitivity of the sensor, not the color impression perceived by the eye.
Example Setup: DataMatrix Code on a Reflective Surface
The camera is aligned with the code and the field of view is adjusted to the required resolution. Subsequently, coaxial, diffuse, or low-angle incident light are compared. The separation of the code elements, possible overexposed areas, and stability with different component positions are evaluated. Successful image acquisition alone does not replace checking readability or the required code quality.
Suitable Products as a Starting Point
The following products demonstrate suitable lighting principles. Size, light color, power supply, and available options are selected for your specific inspection task.
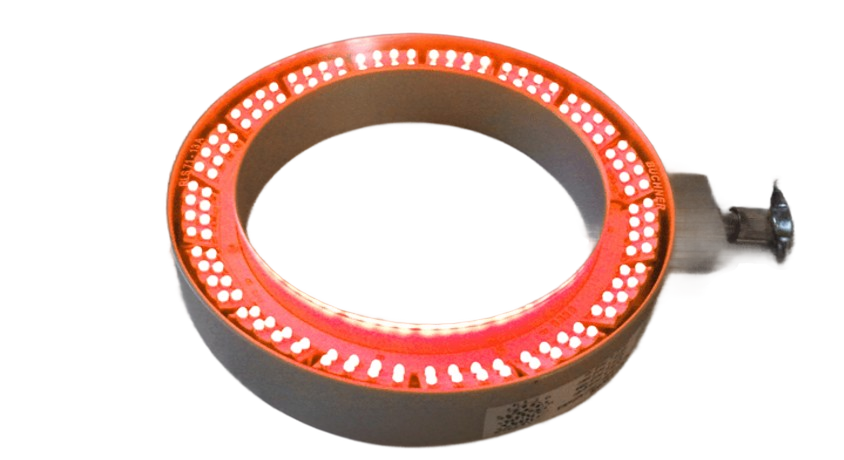
CORONA-180
Ring lighting as a starting point for suitable incident light around the camera; select light color and beam angle to match the code.
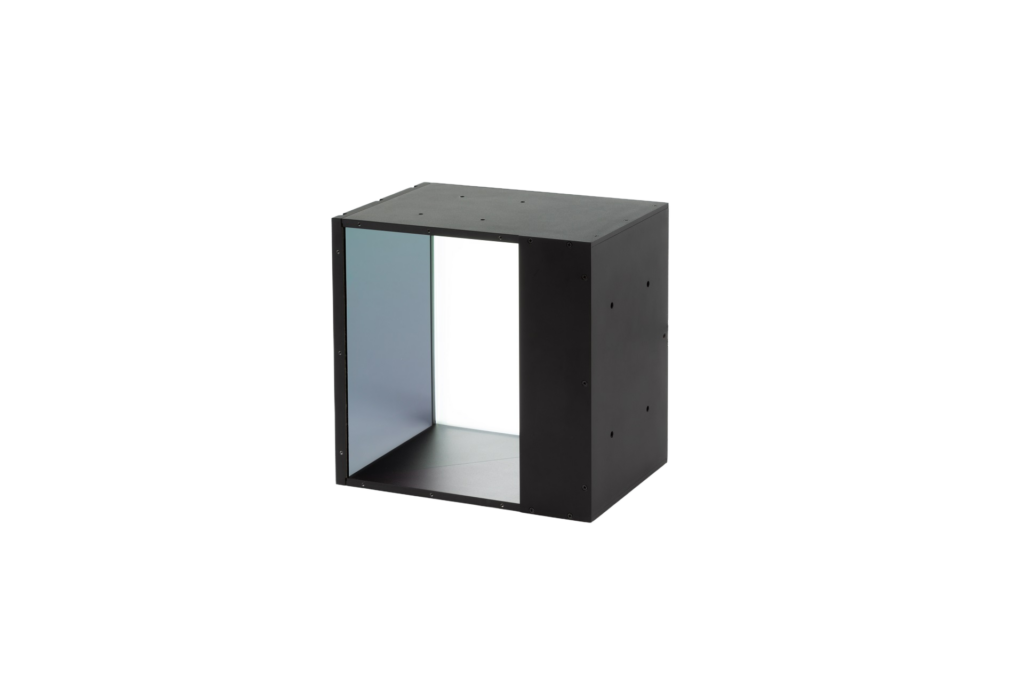
TOP-LIGHT-40/80
Compact incident area lighting for local inspection areas and customizable arrangements.
This Information Helps with the Selection
- Code type, character height, or size of the individual code elements.
- Printing, laser, or embossing process and material of the substrate.
- Gloss, curvature, protective film, and position changes of the component.
- Camera, field of view, working distance, movement, and required evaluation.
An original label or marked components, as well as an existing camera image, help with an initial assessment. Boundary samples, such as weak markings, glossy protective films, or changing background colors, are also important.

