
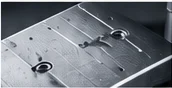
On shiny components, the light source itself can be reflected in the camera image. Bright reflections then obscure markings, edges, or surface features. For a stable inspection, not only the light output but, above all, the size, direction, and diffusion of the lighting must match the component.
Typical inspection tasks
- Capturing markings and features on polished or coated metal surfaces.
- Inspecting shiny injection-molded parts and curved surfaces.
- Reducing reflections on foils, covers, and transparent protective layers.
- Distinguishing between embossings, shape features, and surface changes.
Which light is right for the task?
Diffuse lighting for curved surfaces
A large, diffuse light source illuminates from several directions and can soften harsh individual reflections. Dome lights are therefore a sensible starting point for suitable curved or uneven shiny components. The shape and size of the component as well as the camera aperture influence the result.
Coaxial light for suitable flat surfaces
Coaxial lighting guides the light onto the component approximately along the camera’s line of sight. On suitable flat, reflective surfaces, this can enable a uniform representation. Larger inclinations or height differences must be taken into account in the experimental setup.
Targeted use of polarization
A polarizing film on the lighting and a suitably aligned analyzer in front of the lens can reduce certain reflections. The effect depends on the material and angle; metal reflections cannot be eliminated across the board. In addition, the amount of usable light decreases.
Deliberately utilizing reflections when necessary
Not every reflection has to disappear. When searching for scratches or shape deviations, directional light can create the required contrast. Therefore, the lighting is matched to the specific inspection feature and not just to an overall image that appears as uniform as possible.
Example setup: Marking on a shiny cover
First, it is checked whether a larger diffuse light source displaces the bright specular reflections from the relevant area. In the case of a flat cover, a coaxial setup is also compared. If a transparent top layer is involved, a test with crossed polarization may be useful. The decisive factor is whether the marking remains recognizable in the camera image even with variations in position and surface.
Suitable products as a starting point
The following products demonstrate suitable lighting principles. Size, light color, power supply, and available options are selected for your specific inspection task.
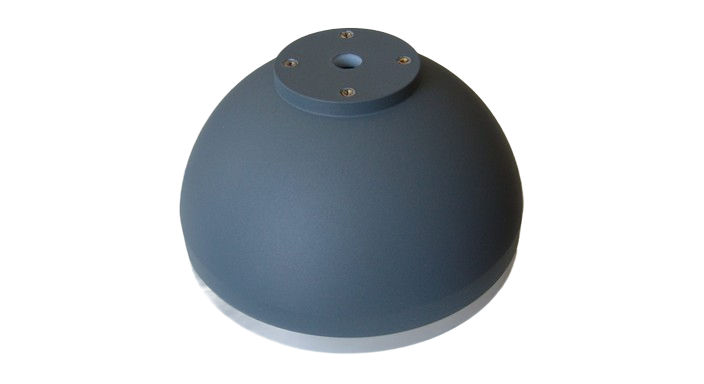
DOME-170
Diffuse dome lighting as a starting point for suitable curved or uneven shiny surfaces.
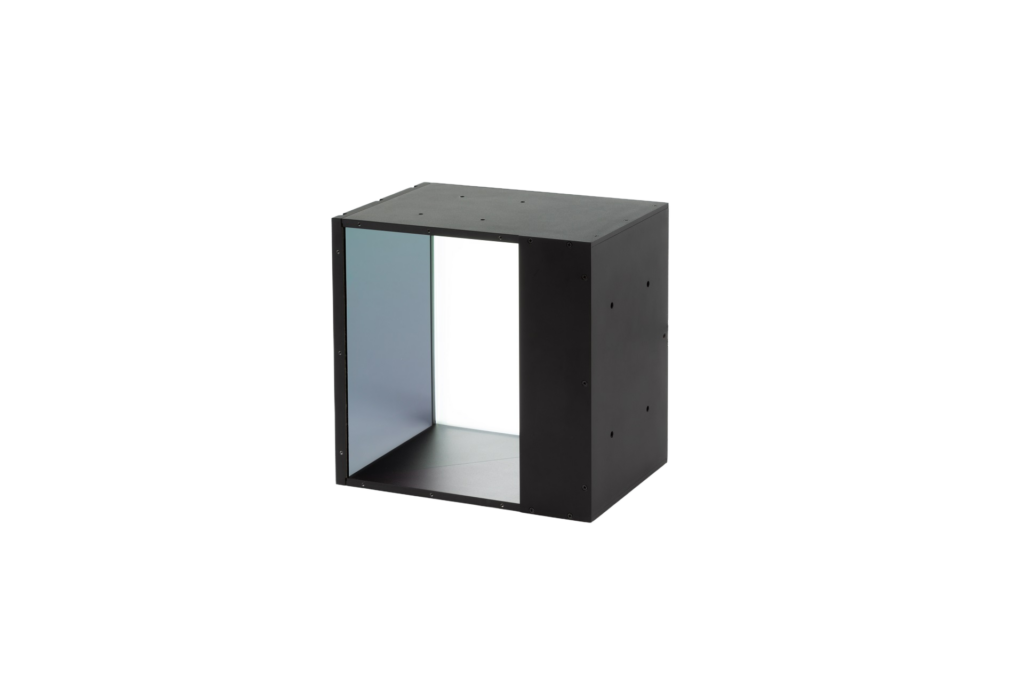
KOAX-One 54-41
Coaxial lighting for suitable flat, reflective inspection areas.
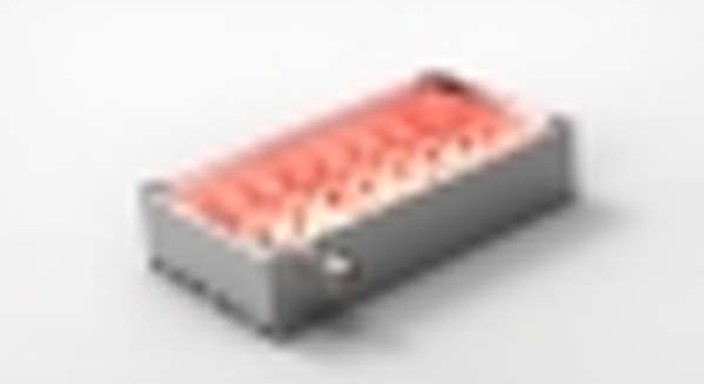
TOP-LIGHT-40/80
Incident area lighting for comparative setups; check available fronts and accessories to match the application.
Polarizing filters and suitable fronts are selected based on the lighting, lens, and installation situation.
This information helps with the selection
- Material and coating as well as flat or curved geometry.
- Feature sought: Marking, color, shape, or surface defects.
- Camera viewing direction, component inclination, and available installation space.
- Previous reflections in the camera image and possible ambient light sources.
A photo showing the currently disruptive reflections is particularly helpful. Together with an original component, it shows which light source, viewing direction, and, if necessary, polarization should be compared in the test.

